Find your way around JupyterLab
You need three things in JupyterLab for this hackathon. The terminal is where your coding agent runs. The file browser shows what the agent changed. Notebooks are where you run and check its work.
The Launcher
The Launcher opens notebooks, terminals and files. If you do not see it, choose File → New Launcher, or click the blue + at the top left.
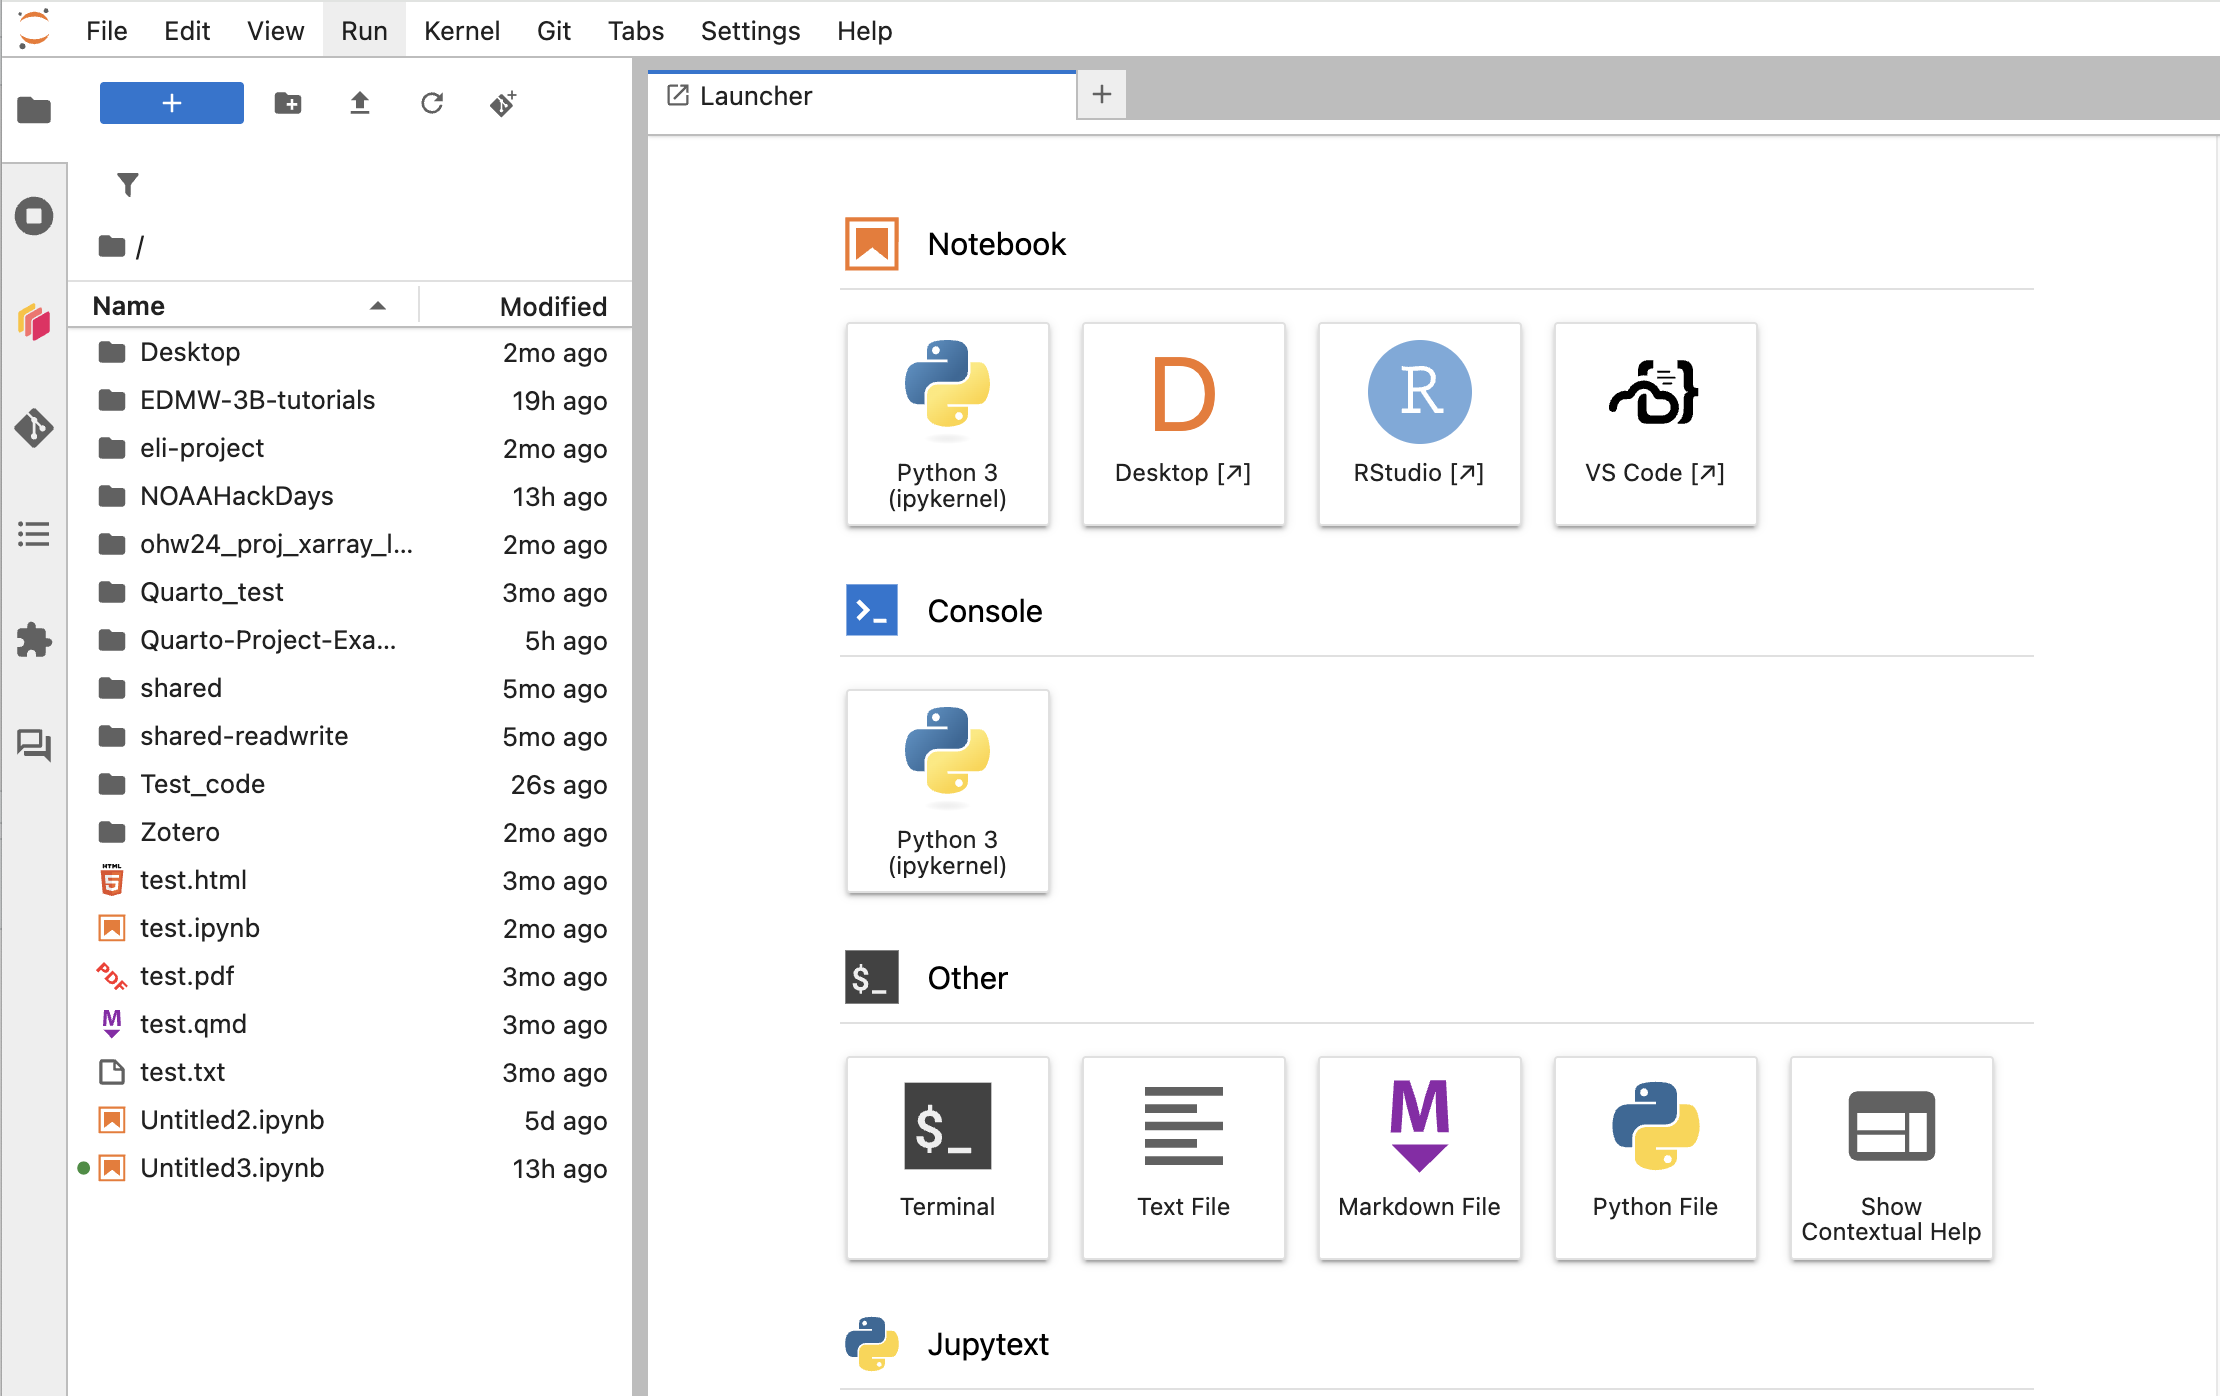
The terminal
Click Terminal in the Launcher, or choose File → New → Terminal. This is where you will start your agent. You only need a few commands yourself:
| Command | What it does |
|---|---|
pwd |
Shows which folder you are in |
ls |
Lists the files here (ls -a also shows hidden ones) |
cd folder |
Moves into a folder |
cd .. |
Moves up one folder |
cd ~ |
Goes back to your home folder |
The agent will run most other commands for you, and it asks before it runs anything risky. New to the shell? Try the Software Carpentry shell lesson.
The file browser
The folder icon at the far left opens the file browser. Use it to move between folders, make a new one (the folder icon with a +), and right-click a file to rename or delete it. When an agent writes a file, it shows up here. Open it and read it.
Notebooks
Click Python 3 in the Launcher to open a new notebook. A notebook is a list of cells, and each cell is either code or Markdown.
- Run a cell: press Shift + Enter.
- Run all cells: use the Run menu.
- Add a cell: click the + in the notebook toolbar.
- Change the cell type: use the drop-down in the toolbar (Code / Markdown).
To open a notebook that someone else wrote, or that the agent wrote, double-click it in the file browser.
Installing packages
%pip install package in a notebook cell installs a package for the current session only. It will be gone the next time your server starts. If something should always be there, ask for it to be added to the hub image.
Adapted from NMFS HackDays 2025: Intro to JupyterLab.